One of our faithful customers, Cheryl P. went the extra mile and sent us her documented process of prepping baking pans while using our Weeks Honey Farm All-Natural American Beeswax. Read below and see the results of her experience using beeswax for the first time.
Once this process of beeswax coating is repeated over time, your baking pans become non-stick and no longer require "greasing" before use.
A Few Things To Note:
-
The beeswax has a low smoke point
-
Regardless of the surface -applying hot wax to room temperature surface is not a good idea
-
Heating up your pan. This helps spread the melted wax
-
The difference applying with a silicone brush vs a paper towel
- Towel: Clean up with pans was easy, you do feel a residue remains
- Brush: Application is smooth, but clean up for the silicone brush was difficult
The following pictures show why you want to wax a heated surface to keep your application smooth. The surface should be warm to create a smooth surface.
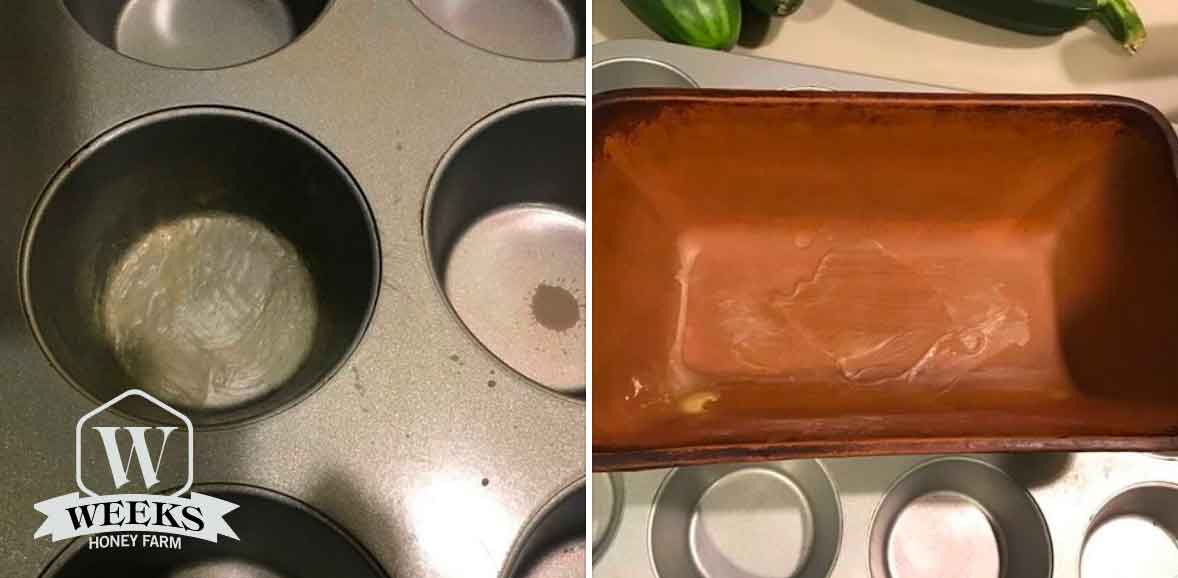
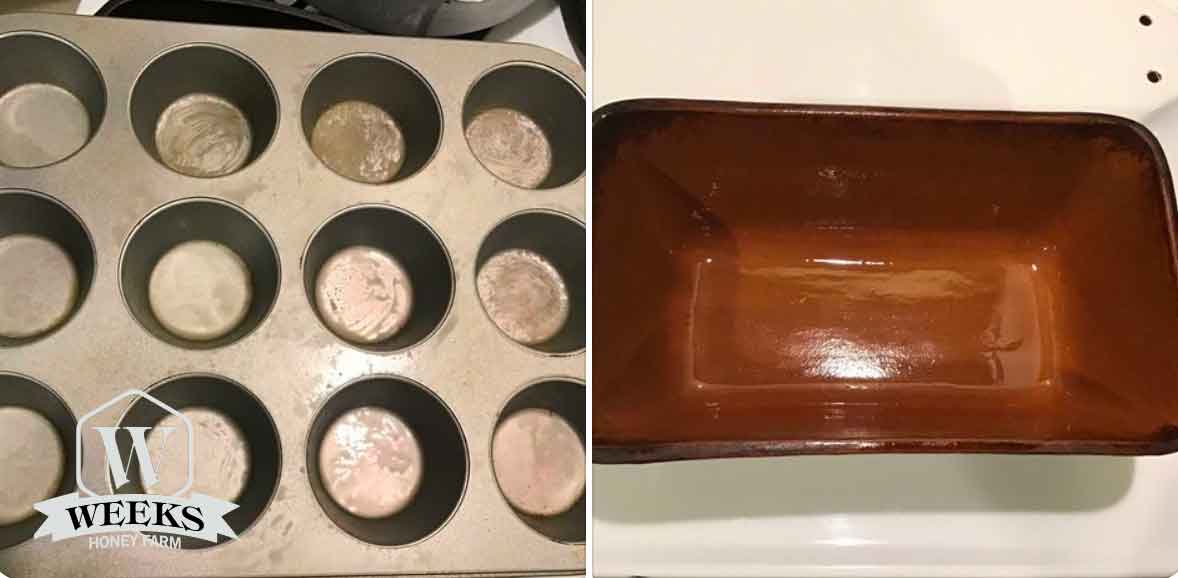
These next 2 pictures are waxed on a heated surface The cupcake pan I used the silicone brush The bread pan I used a paper towel
THE PROBLEM:
"I made gluten free chocolate cupcakes and cake. I don’t know if you know this but usually getting them out of the pan in one piece is tricky. Usually when I make cupcakes I have use the paper cupcake pieces and spray them with oil.
I stopped making them in the cupcake pan directly because they always stuck regardless of oil, butter, sprays, shortening."
THE SOLUTION:
Filled pans before cooking:

Pans after cooking:

Here is the pan after easily removing the cupcakes and cake. The only thing that stayed on the pan were the chocolate chips that sunk to the bottom

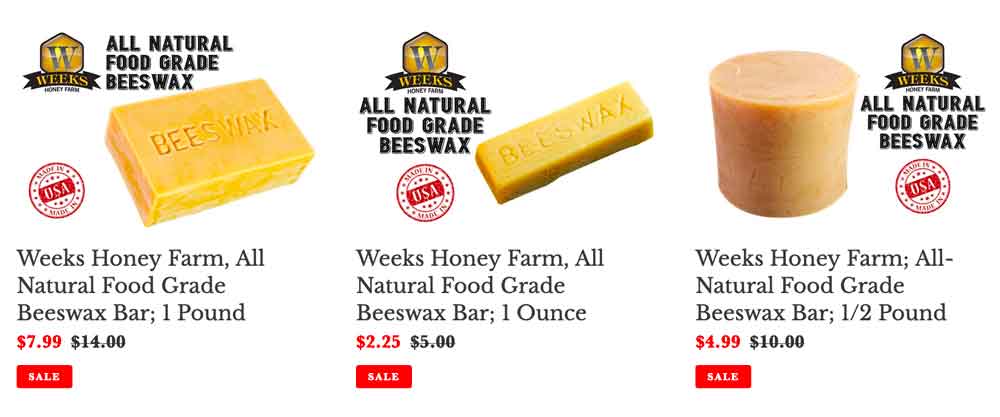
I used just a sliver of the Weeks 1/2 pound beeswax for 3 pans.

I did taste the bottom of one of the cupcakes when it was still warm, I didn’t notice any waxy residue.
The beautiful Gluten-Free cupcakes and bread loaf turned out delicious!



Comments (0)
There are no comments for this article. Be the first one to leave a message!